
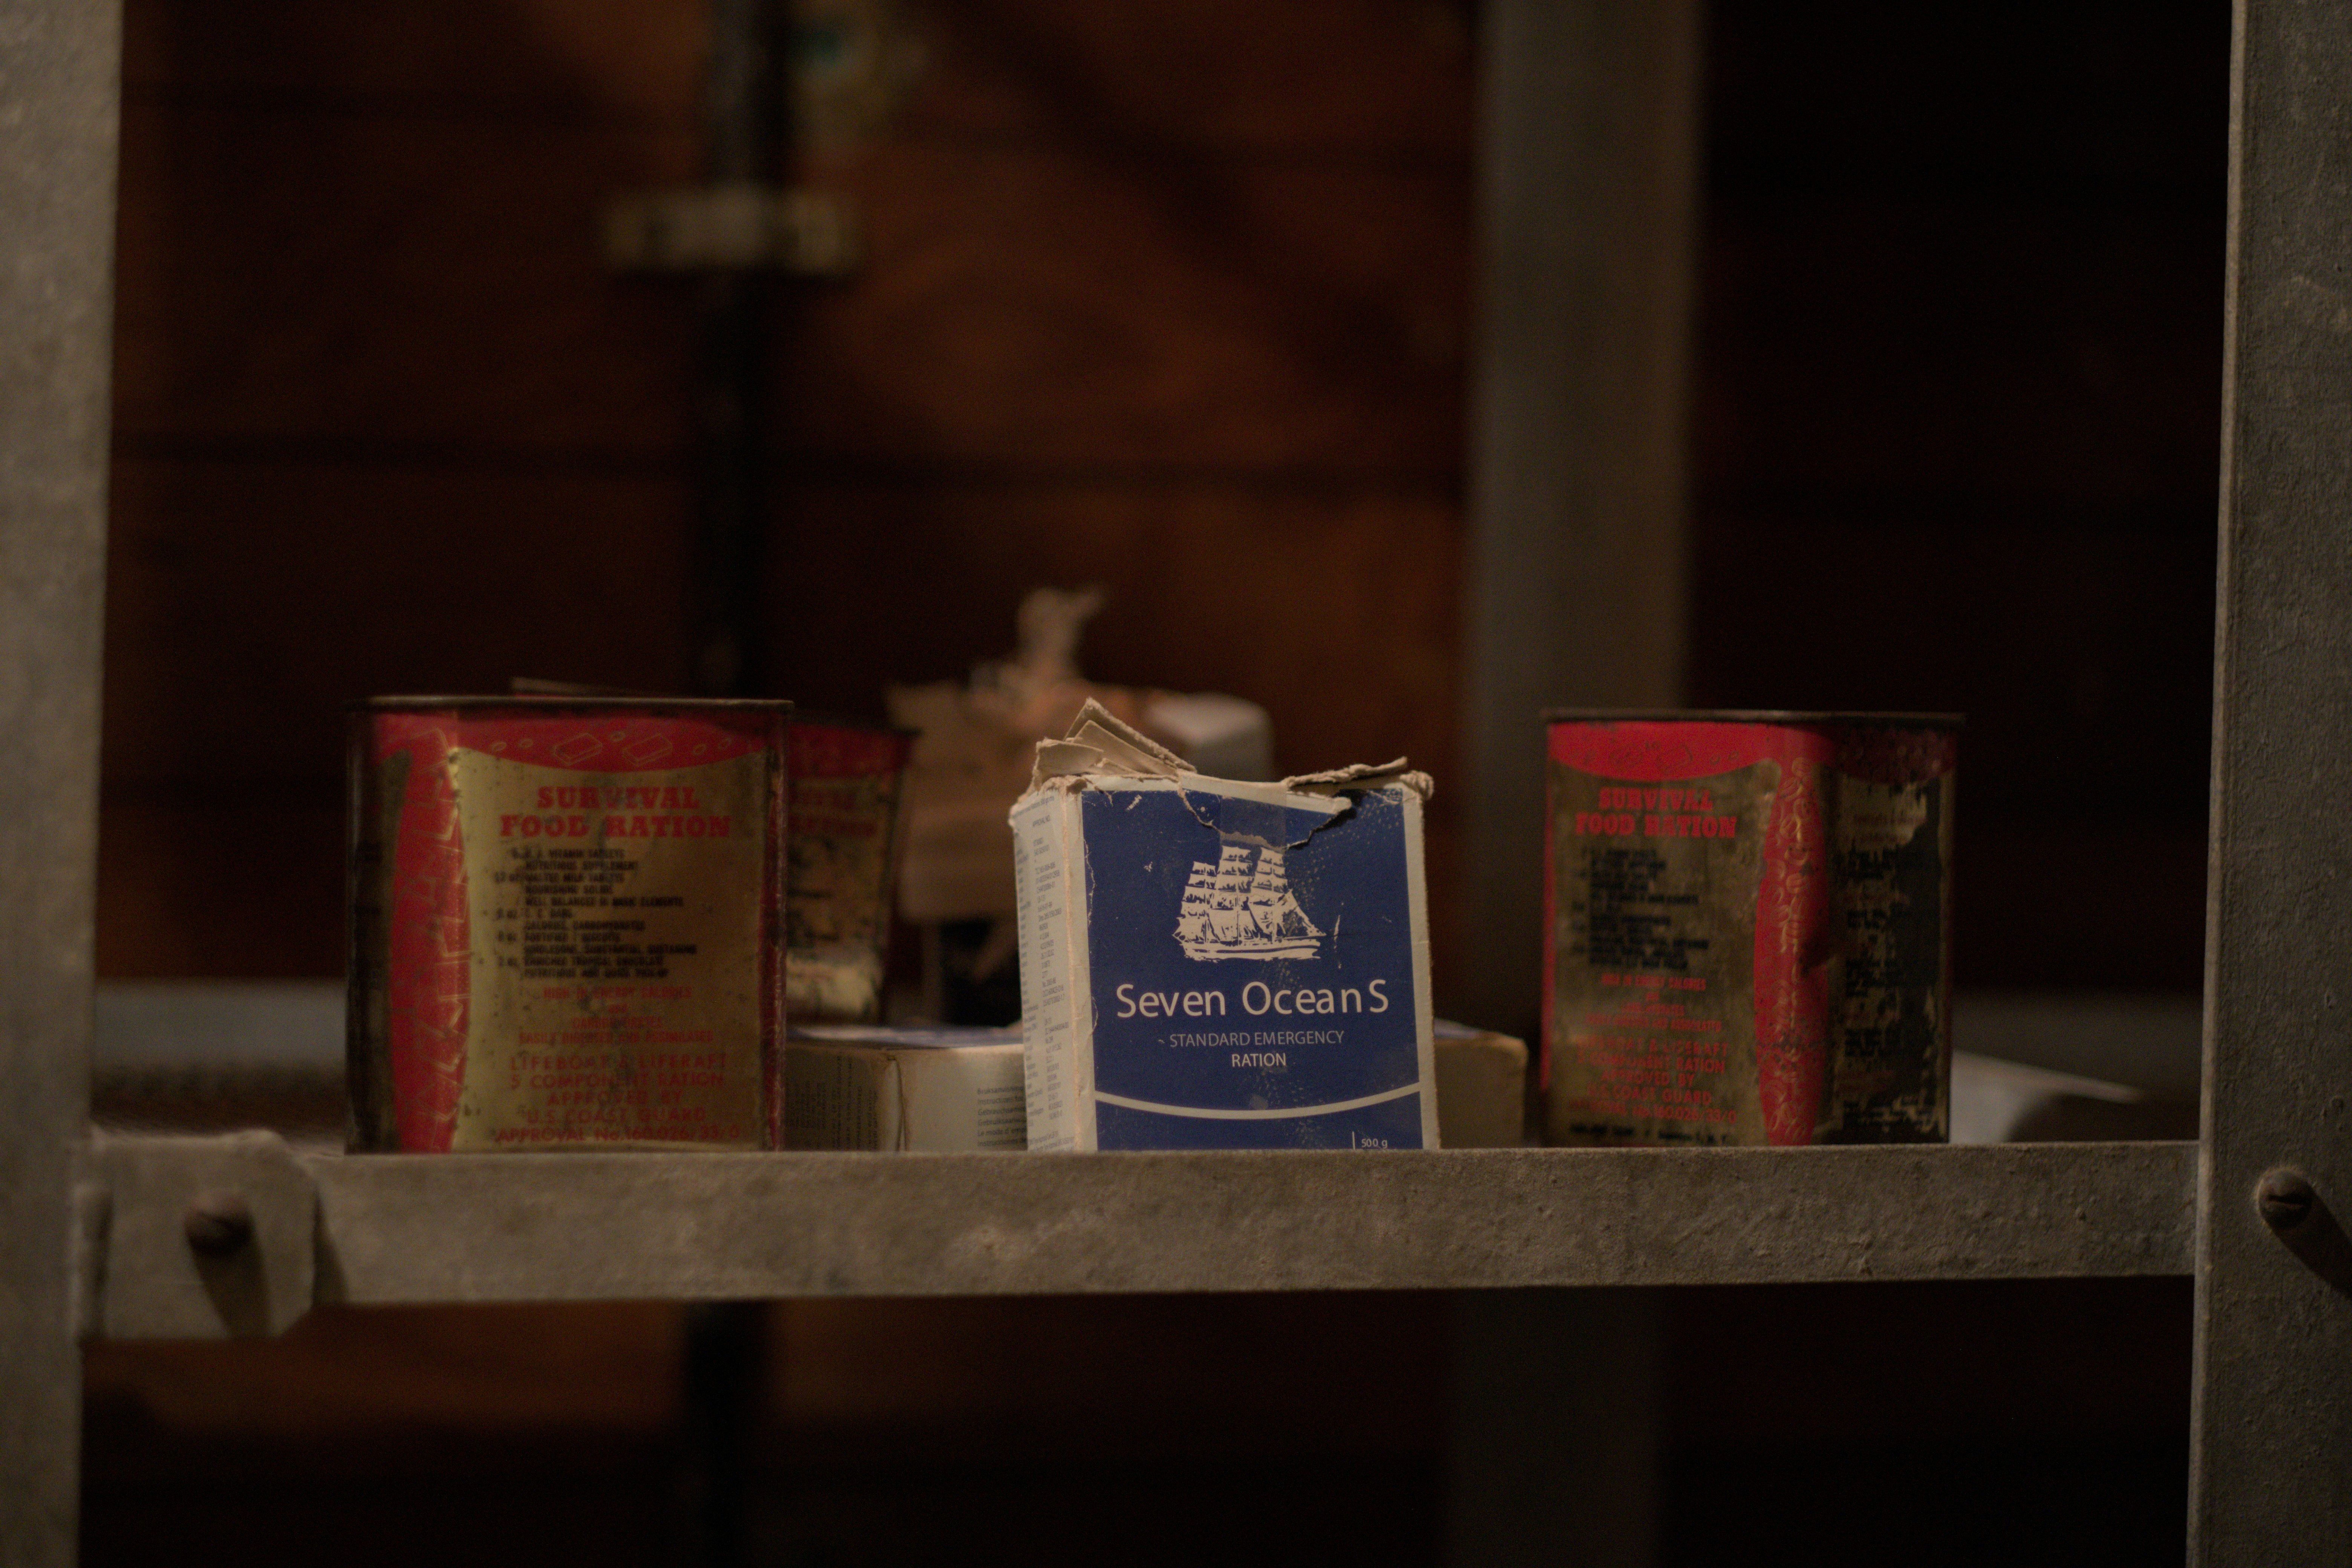
When you’re considering survival food, it’s not solely about having provisions; it’s about ensuring they are safe, edible, and nutritious enough to last. Here in Georgia, with our well-known humidity and the occasional blackout from summer storms, your food storage strategy must be deliberate. You’re not only preparing for a catastrophe but for more common events, like a few days without electricity after a severe thunderstorm or an unexpected job loss. The aim is to create a dependable pantry that can support you and your family without constant worry over spoilage or contamination.
Reviewing Your Present Situation & Objectives
Before you purchase a single bag of rice or a case of canned goods, assess what you already own. Go through your pantry, freezer, and even those neglected corners of your basement. What’s the expiration date on those canned beans? How old is that flour sack? This initial evaluation helps you spot gaps and stops you from buying duplicates of things you already have.
When it comes to preparing for emergencies, understanding the best survival food storage tips is essential for ensuring that your supplies remain safe and edible for long periods. For more in-depth guidance on this topic, you can check out a related article that offers practical advice and strategies for effective food storage. To learn more about these tips, visit this article for comprehensive insights.
Next, clarify your aims. Are you targeting a 3-day emergency kit, a 2-week reserve, or a several-month supply? Your timeframe will guide the foods you choose and the storage methods you use. For shorter-term needs, a rotating pantry of everyday items works well.
For longer-term readiness, you will need to think about specialized long-shelf-life items and sturdier storage solutions. Also, consider your family’s dietary needs and preferences. There’s no use stocking up on food nobody will eat, especially during a tense situation. Essential Elements for Long-Term Food Preservation
The core principles for preserving food—whether it’s a jar of pickles or a bag of dried beans—center on managing environmental elements.
You should store food in a cool, dark, & dry place. This is not merely a recommendation; it’s a vital rule that greatly reduces spoilage. Lower, consistent temperatures hinder bacterial growth & chemical breakdown, which are the main causes of food going bad. A cool setting, ideally between 50–70°F, extends the life of most staples, with 75°F or lower being a good target for truly long-term items.
When preparing for emergencies, understanding the best survival food storage tips is essential for ensuring you have access to nutritious meals when needed. For those looking to enhance their preparedness, you might find it helpful to explore a related article that discusses the essentials for a bug-out bag, which can complement your food storage strategy. This comprehensive guide covers various items you should consider including in your kit, making it a valuable resource for anyone serious about survival. To learn more about these essentials, check out this article on bug-out bag essentials.
| Tip | Description | Recommended Storage Method | Estimated Shelf Life |
|---|---|---|---|
| Choose Long-Lasting Foods | Select foods with naturally long shelf lives such as rice, beans, and dehydrated vegetables. | Store in airtight containers in a cool, dry place. | 1-30 years depending on food type |
| Use Oxygen Absorbers | Remove oxygen from storage containers to prevent spoilage and insect infestation. | Place oxygen absorbers inside sealed Mylar bags or food-grade buckets. | Extends shelf life by several years |
| Store in Cool, Dark Places | Heat and light degrade food quality and nutrients over time. | Keep food storage in basements or closets away from sunlight. | Maintains quality for maximum shelf life |
| Use Vacuum Sealing | Removes air and seals food tightly to prevent moisture and bacteria growth. | Vacuum seal dry goods and freeze perishable items. | 1-5 years for dry goods, shorter for perishables |
| Rotate Stock Regularly | Use older food first and replace with fresh supplies to avoid spoilage. | Label containers with purchase or packing dates. | Ensures food is consumed before expiration |
| Keep Food Off the Ground | Prevents moisture absorption and pest contamination. | Store food on shelves or pallets. | Protects food quality and safety |
| Seal Containers Properly | Prevents air, moisture, and pests from entering storage containers. | Use airtight lids, Mylar bags, or sealed buckets. | Maintains freshness and prevents spoilage |
Darkness guards against light damage, which can destroy nutrients and alter taste. And dryness, perhaps the most critical factor in our humid Georgia climate, prevents mold, bacterial growth, & pest invasions. A dry environment keeps those shelf-stable items, well, stable.
Now that you grasp the “why” behind proper storage, let’s explore the “how.” Establishing the perfect storage environment and choosing the right packaging are two sides of the same coin when it comes to maximizing the freshness and safety of your survival food. Ideal Storage Conditions: Temperature, Light, and Humidity
As mentioned, store food in a cool, dark, and dry location. For many survival stores, aiming for a steady temperature between 50–70°F is best. If you can keep it closer to 50°F, that’s even better for items like grains, legumes, and dried fruits. In Atlanta, maintaining those lower temperatures can be tough in a non-climate-controlled space, especially during our long, hot summers.
Basements or interior closets often offer more stable temperatures than garages or attics. Temperature fluctuations are almost as bad as consistently high ones, as they can cause condensation and speed up spoilage. Aim to keep temperatures constant, avoiding major swings. Light, especially direct sunlight, harms many foods.
It degrades vitamins, fats, and even food color, making it less attractive and less nutritious over time. Store your food in opaque containers or in a dark area, like a pantry, closet, or even under a bed if it’s consistently cool and dry. Humidity is your biggest enemy in Georgia.
High humidity encourages mold growth, rusts cans, and can even cause dried goods to reabsorb moisture and spoil. A dehumidifier in your storage area can be a wise investment if you’re committed to long-term storage, especially in a basement. The target is to keep the relative humidity under 60%. Selecting the Right Packaging Materials
The correct packaging is your primary defense against moisture, air, and pests. You want materials that create an airtight barrier. Airtight Containers for Everyday Staples
For items you’ll rotate through more often, or for smaller amounts, use airtight packaging like screw-top jars, sturdy plastic bins, or glass jars with rubber seals.
These are great for protecting items from household pests and keeping freshness in your pantry. For instance, your everyday rice, pasta, flour, and sugar greatly benefit from being moved out of their original flimsy packaging into something more durable. Mylar Bags and Oxygen Absorbers for Long-Term Dry Goods
When you’re thinking truly long-term—years, not months—mylar bags are your best choice. These thick, shiny bags provide an excellent barrier against light, moisture, and odors.
They are designed for oxygen reduction. For dry goods like beans, grains (wheat, oats, rice), and dried pasta, add oxygen absorbers when using mylar bags. These small packets chemically remove oxygen from the sealed environment, preventing oxidation, stopping insect growth (which needs oxygen to survive), and dramatically extending shelf life.
Once you’ve added the oxygen absorber, seal the mylar bag tightly with an impulse sealer or even a hot iron. Food-Grade Buckets for External Protection
After sealing your mylar bags, don’t just leave them unprotected. Place these sealed bags into food-grade buckets. These buckets offer a strong physical barrier against rodents, larger insects, and accidental damage. They also add another layer of protection against light and temperature changes.
Ensure the buckets have tight-fitting, gasketed lids to keep that extra level of protection. Vacuum Sealing for Shorter-to-Mid-Term Storage
Vacuum-sealed bags are excellent for keeping individual portions or smaller amounts of food for mid-term storage (think months to a couple of years, depending on the item). They remove air, which slows down oxidation & stops freezer burn. This is especially useful for dried meats, cheese, coffee, and even pre-made meals you plan to freeze. Just keep in mind that while they eliminate most oxygen, they aren’t as effective as mylar bags with oxygen absorbers for truly prolonged shelf life.
Having a pantry full of stored food is one thing; knowing what you have, where it is, and when it expires is another. A solid inventory management system is essential to avoid waste and ensure you’re always using food at its best quality. Without it, you’re likely to find expired items at the back of your shelves, undermining the purpose of your preparation efforts. The FIFO Principle: First In, First Out
This is perhaps the most critical rule of food storage: rotate stock with FIFO (first in, first out). It’s straightforward logic but often ignored.
When you buy new items, whether it’s a can of soup or a bag of rice, place the newer items behind the older ones on your shelves. This ensures you are consistently using the oldest food first, stopping it from expiring untouched. Make it a habit to regularly use and replace stored food. This isn’t just about avoiding waste; it also helps you get familiar with your stock, ensuring you know how to prepare and enjoy the foods you’ve stored. Detailed Labeling & Documentation
Every item in your survival pantry should be clearly labeled.
Don’t depend on memory. At a minimum, each package should have:
Item Name: Be specific (e.g., “Black Beans,” not just “Beans”). Date Stored/Packed: This is critical for FIFO.
Expiration Date (if applicable): For commercial products. Quantity: Especially for bulk items. For your longer-term stores in mylar bags & buckets, think about adding a list of contents to the outside of the bucket. You don’t want to open every bucket to find what you need in an emergency. Beyond individual labels, keep a master inventory list, either on paper or digitally.
This list should detail:
All items stored. Quantity of each item. Location (e.g., “basement shelf A, bucket 3”). Purchase/Storage Date. Best By/Expiration Date. Regularly update this list as you rotate stock or add new items.
This system allows you to quickly check your inventory, identify what needs to be restocked, and understand your overall preparedness level. Regular Inspections and Replenishment
Your food storage isn’t a “set it & forget it” task. You need to do regular inspections—at least quarterly, if not monthly.
Look for signs of:
Pests: Gnaw marks, droppings, insects in or around containers. Damage: Leaking cans, bulging lids, torn bags, rusted containers. Spoilage: Off-odors, discoloration, mold. Expired items: Identify anything nearing its expiration date so you can plan to use it soon. If you find any issues, handle them right away.
Safely discard compromised food, clean the area, & reassess your storage methods. Replenishment should be an ongoing process. As you use items from your stored supply (which you should be doing with FIFO), add them to your shopping list.
The goal is to always maintain your desired level of readiness. Think of it like a pantry pipeline—as food goes out the front, new food comes in the back. While much of survival food storage focuses on shelf-stable items, refrigerated & frozen foods play a key role, especially in short-term scenarios or as part of your ongoing food rotation.
Understanding how to maximize their freshness and safety is important, particularly given Georgia’s climate challenges during power outages. Maximizing Refrigerator Freshness and Safety
Your refrigerator is a key tool for short-term storage, but it needs to be managed properly to prevent foodborne illness and waste.
FAQs
What are the best types of food to store for survival situations?
The best types of food to store for survival situations are non-perishable items such as canned goods, dried fruits, nuts, grains, and dehydrated meals. These foods have a long shelf life and provide essential nutrients needed for survival.
How should I store my survival food to ensure it stays fresh?
To ensure your survival food stays fresh, store it in a cool, dry place away from direct sunlight. Make sure the containers are airtight to prevent moisture and pests from getting in. Rotate your food supply regularly to ensure you are always consuming the oldest items first.
What is the recommended amount of survival food to store per person?
The recommended amount of survival food to store per person is at least a 3-day supply, with a goal of eventually building up to a 2-week or even a 1-month supply. This should include enough calories and nutrients to sustain each person during an emergency situation.
How can I create a balanced survival food supply that includes all necessary nutrients?
To create a balanced survival food supply, include a variety of food items such as canned proteins (like tuna or beans), grains (such as rice or pasta), fruits and vegetables (dried or canned), and sources of fats and oils. Consider adding multivitamins to ensure you are getting all necessary nutrients.
Are there any special considerations for storing survival food for long-term emergencies?
For long-term emergencies, consider investing in freeze-dried or dehydrated foods that have a longer shelf life. It’s also important to have a water supply for rehydrating these foods. Additionally, make sure to have a way to cook or prepare your food in case of power outages.



No comment