
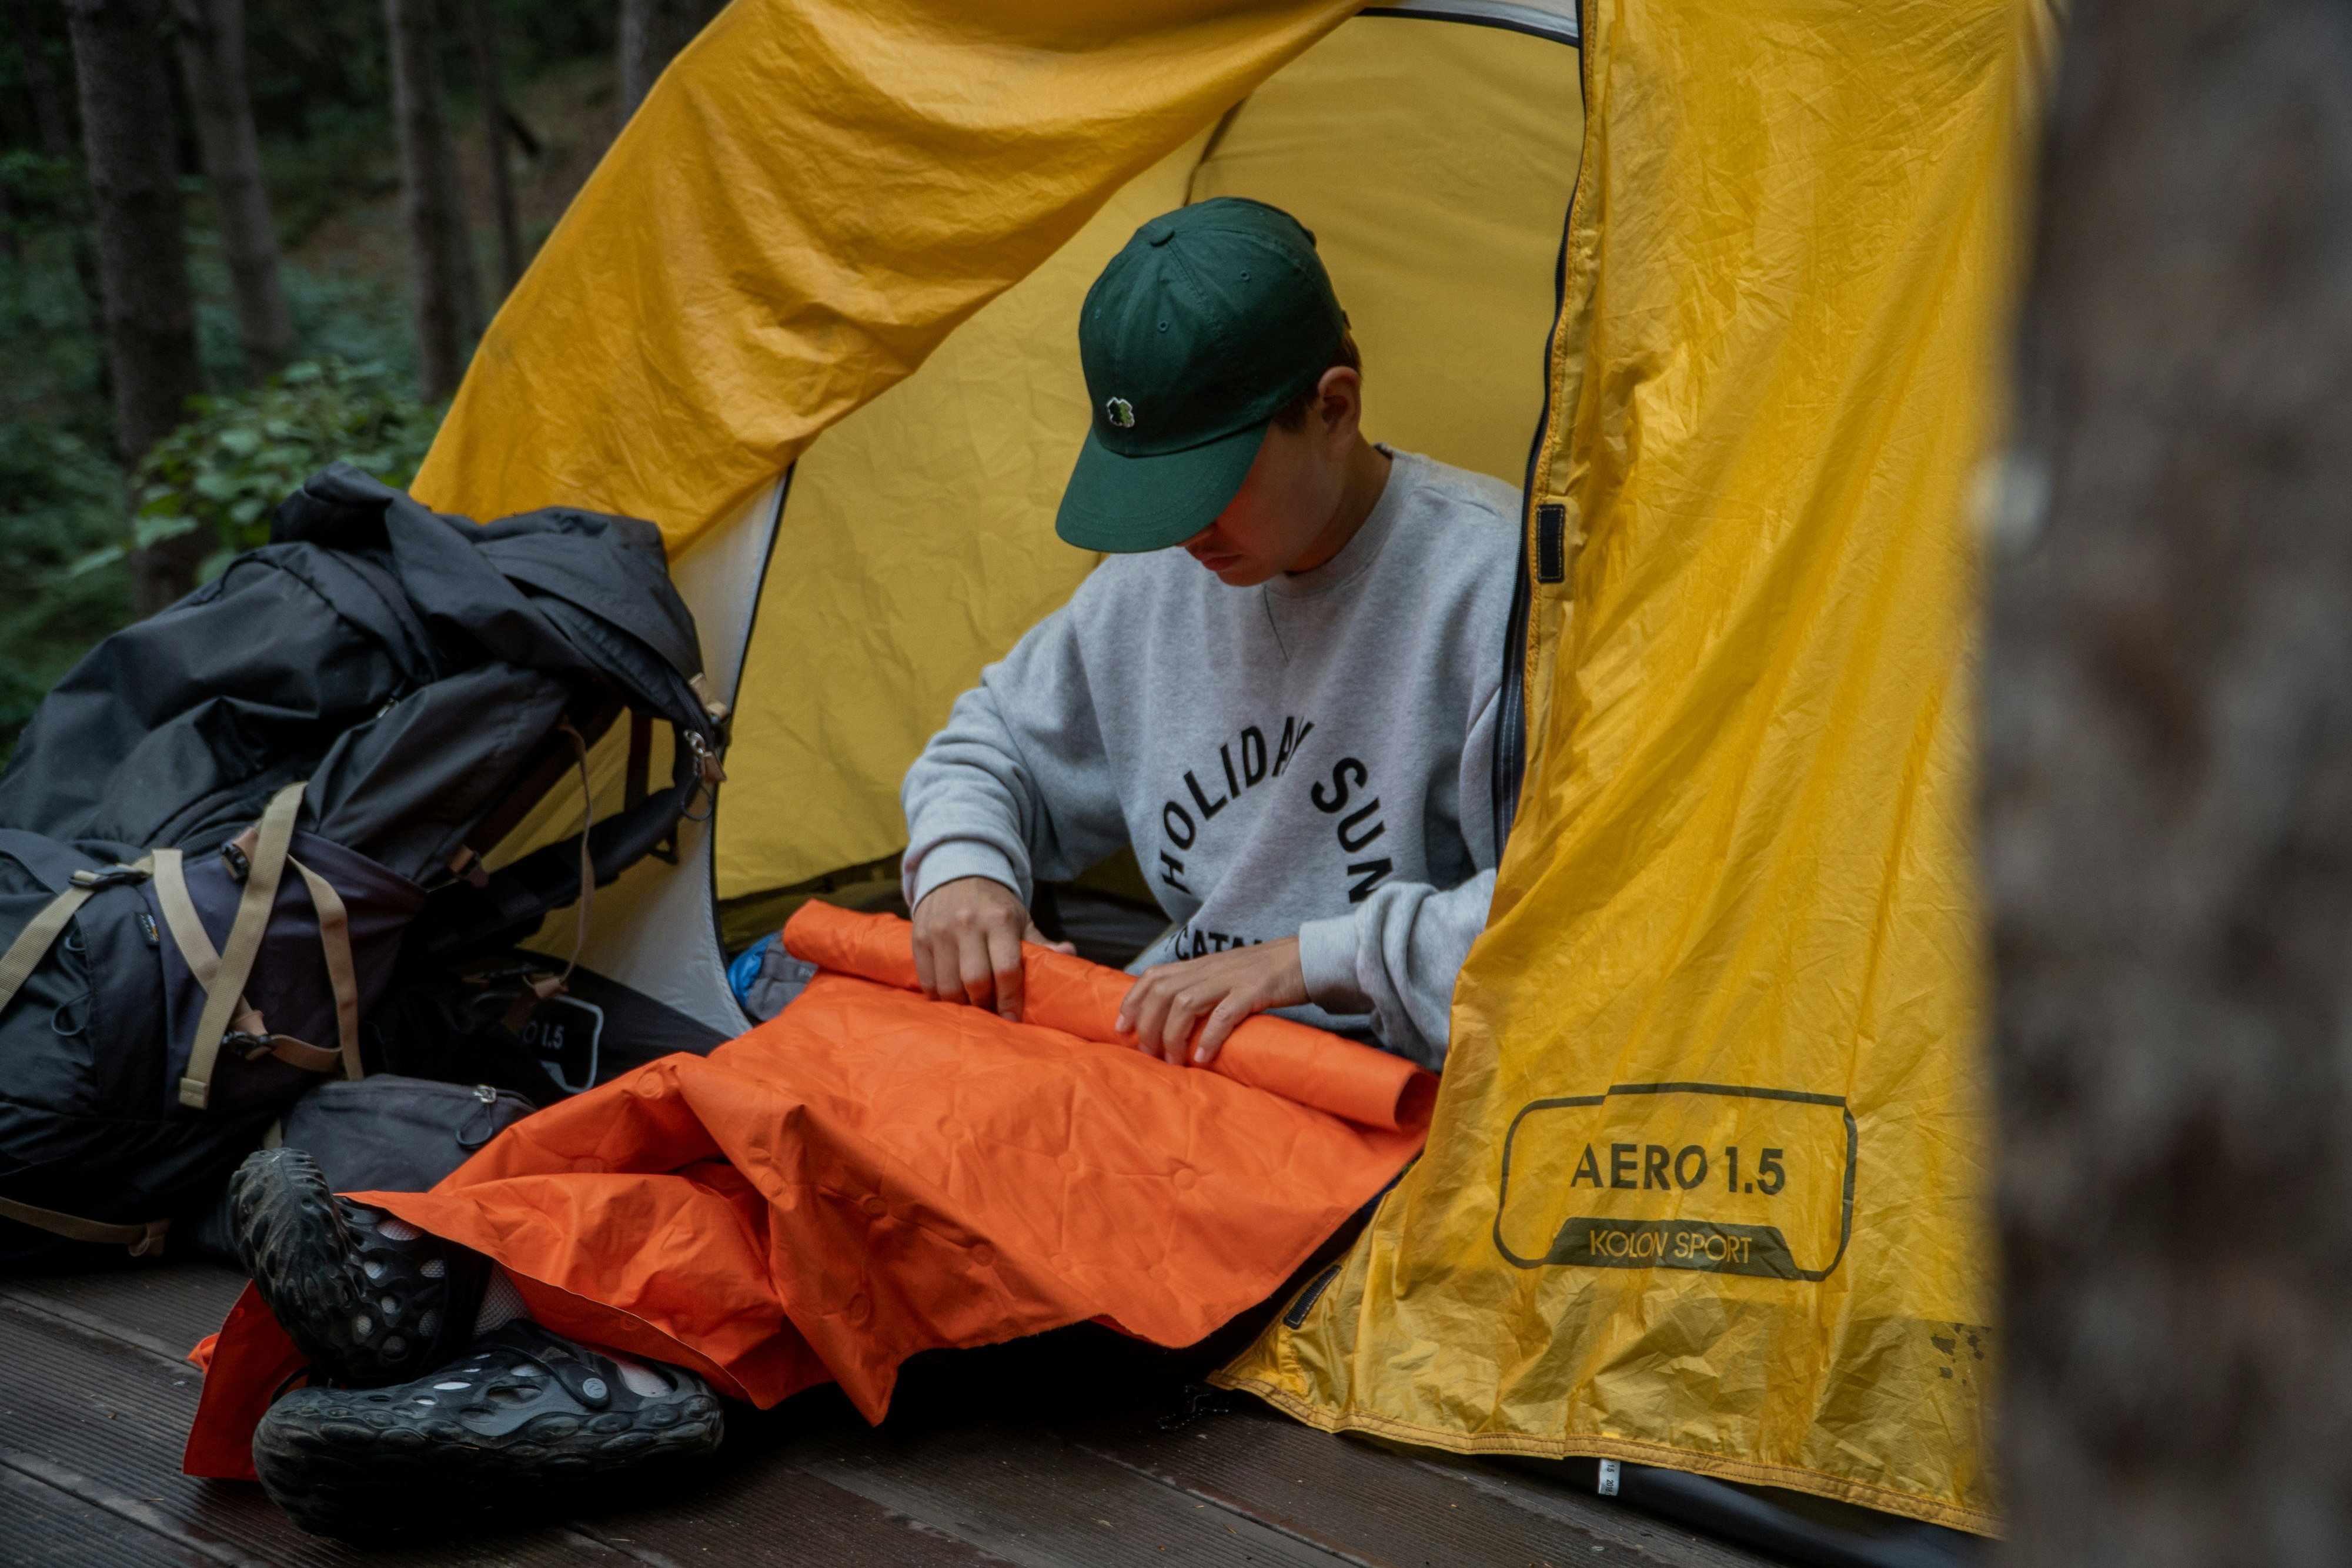
Setting up your tent correctly is a fundamental skill for any outdoor enthusiast. A well-pitched tent offers shelter, comfort, and protection from the elements, ensuring a more enjoyable experience.
Planning Your Tent Setup
Before you even unpack your tent, consider some crucial preparations that will streamline the entire process.
Practice Makes Prepared
Don’t wait until you’re at the campsite to set up your tent for the first time. Unpack your tent at home or in your backyard. This practice run allows you to familiarize yourself with the components and the assembly sequence without the added pressure of fading daylight or changing weather conditions. Confirm you have every tent part: poles, stakes, rainfly, and a tarp or footprint. Knowing each piece and its function will build your confidence for when it truly matters.
Check the Forecast
Before heading out, consult weather forecasts for your destination. Understanding what conditions to expect — be it strong winds, rain, or clear skies — will help you determine how diligently you need to stake and guy out your tent. NOAA provides reliable weather information that can inform your decisions [https://www.noaa.gov/].
If you’re looking to enhance your camping experience beyond just setting up your tent correctly, you might find our related article on choosing the perfect sleeping bag temperature rating particularly useful. Understanding how to select the right sleeping bag can significantly impact your comfort during outdoor adventures. For more information, check out the article here: How to Choose the Perfect Sleeping Bag Temperature Rating for Your Outdoor Adventures.
Choosing Your Campsite
The location you choose for your tent significantly impacts your comfort and safety. Take a few moments to assess the area before pitching.
Seek Level Ground
Prioritize a flat, dry campsite. A level surface prevents you from rolling to one side during the night and improves overall comfort. Avoid sloped areas that could lead to an uncomfortable night’s sleep or allow water to pool under your tent.
Mind the Surroundings
Look around for potential hazards. Steer clear of rocks and roots, which can not only damage your tent’s floor but also create uncomfortable lumps beneath your sleeping pad. Identifying these before you set up means you won’t have to reposition your tent later.
Avoid Water Traps
Be mindful of low spots or depressions in the terrain. These areas are prone to collecting water during rain, potentially leading to a flooded tent. Similarly, maintain a safe distance from areas prone to flooding. The National Park Service offers guidance on Leave No Trace principles, which includes selecting appropriate campsites [https://www.nps.gov/articles/leave-no-trace-seven-principles-for-responsible-recreation.htm].
Consider Drainage
Even on relatively flat ground, assess how water would naturally drain if it rains. Position your tent so that water would flow away from, rather than towards, your tent door or walls.
Laying the Foundation: Footprint and Tent Body
The initial steps of laying out your tent are critical for proper setup and protection.
Unroll the Footprint/Tarp
Begin by laying down your tent’s footprint or a ground tarp. This protective layer shields your tent’s floor from abrasion, moisture, and sharp objects. Typically, the shiny side of a tarp faces up. This side is often more water-resistant and may reflect heat, adding a small layer of insulation from the cold ground.
Orient the Tent
Place the tent body on top of the footprint. Before doing anything else, orient the tent so that the door faces the direction you prefer. This might be towards a scenic view, away from prevailing winds, or simply for convenient access to your cooking area or other camp elements. Consider how sunlight and wind might impact your tent throughout the day. Avoid pointing your door directly into the wind, especially in stormy conditions.
Assembling and Securing the Frame
The tent poles provide the structural integrity of your shelter. Handle them with care.
Pole Assembly
Carefully assemble the poles. Most modern tents have shock-corded poles, meaning the sections are connected by an elastic cord. Gently guide the sections into place, ensuring each segment fully connects. Avoid snapping them together, which can stress the cord or damage the pole ends.
Attaching or Threading Poles
Depending on your tent design, you will either attach the poles to clips on the tent body or thread them through sleeves. If threading, take your time and push the poles through rather than pulling, which can cause the poles to break at the joints or snag on the fabric. If possible, a second person can make this step significantly easier, as one person can feed the poles while the other ensures the tent body is not snagging.
Raising the Tent Body
Once the poles are in place and the tent body begins to take shape, gently lift and position the tent. Ensure the poles are properly seated in their grommets or attached to their clips, providing a stable structure. Close the tent door while staking to prevent wind from catching the interior and making it harder to secure.
If you’re new to camping and want to ensure your outdoor experience is enjoyable, our article on the Beginner’s Guide to Setting Up a Tent Correctly is a great starting point. Additionally, if you’re interested in expanding your outdoor skills, you might find it helpful to check out this informative piece on how to begin fly fishing, which offers tips for another rewarding outdoor activity. Together, these resources can help you make the most of your adventures in nature.
Staking Out Your Tent
Proper staking provides stability and helps your tent withstand wind and weather.
Corner Stakes First
Begin by staking down the corners of your tent. This anchors the tent and provides tension for the rest of the setup. Push the stakes firmly into the ground.
Angle for Strength
For improved hold and resistance against pulling forces, drive stakes into the ground at approximately a 45-degree angle. This angle maximizes the stake’s grip on the soil, making it less likely to pull out, especially in soft ground or strong winds. The US Forest Service emphasizes the importance of secure tent pitching in various conditions [https://www.fs.usda.gov/visit/know-before-you-go/camping].
Tensioning the Tent
Once the corners are staked, check the tension of the tent floor and walls. Adjust as needed to remove any slack and ensure a taut pitch. This not only makes the tent more stable but also helps prevent water from pooling on the rainfly later.
Applying the Rainfly and Guylines
The rainfly is your primary defense against rain and often provides additional wind protection. Guylines enhance stability, especially in challenging weather.
Attach the Rainfly
Drape the rainfly over the tent body, aligning it with the doors and vents. Many rainflies are color-coded or have specific attachment points to ensure correct orientation. Secure the rainfly to the tent body using the clips, buckles, or Velcro tabs provided.
Tension the Rainfly
Once attached, tension the rainfly. This creates an air gap between the rainfly and the tent body, which is crucial for ventilation and preventing condensation. It also ensures water beads off rather than pooling on top. Adjust the tension until the rainfly is taut and smooth.
Deploy Guylines
If your tent includes guylines, deploy them, especially if there’s a chance of wind or rain. Guylines attach to specific points on the rainfly and stake out further from the tent, creating additional anchor points. Tie them off to stakes, rocks, or even nearby trees, ensuring they are taut. Ready.gov suggests having emergency supplies, which includes knowing how to properly secure shelter for severe weather [https://www.ready.gov/kit].
Adjust for Weather
- Wind: In windy conditions, ensure all guylines are deployed and tightly secured. Point the narrowest end or the lowest profile of your tent into the prevailing wind to minimize resistance.
- Rain: A taut rainfly is essential for shedding water. Ensure there are no sags where water can collect. The air gap between the rainfly and the tent body also helps minimize condensation inside.
Tent Setup Checklist
Use this checklist to ensure you’ve covered all the critical steps for a well-pitched tent.
Pre-Trip Preparation:
- [ ] Performed a practice setup at home.
- [ ] Confirmed all tent parts are present (poles, stakes, rainfly, footprint/tarp).
- [ ] Checked weather forecast for your destination.
Campsite Selection:
- [ ] Identified a flat, dry spot.
- [ ] Checked for rocks, roots, or other ground hazards.
- [ ] Avoided low spots and potential flooding areas.
- [ ] Considered natural drainage patterns.
- [ ] Oriented tent door conveniently.
Tent Body Setup:
- [ ] Laid out footprint/tarp (shiny side up, if applicable).
- [ ] Placed tent body on footprint, oriented correctly.
- [ ] Assembled poles carefully.
- [ ] Attached or threaded poles according to tent design.
- [ ] Raised and secured the tent body.
- [ ] Closed tent door before staking.
Staking and Stability:
- [ ] Staked all tent corners.
- [ ] Drove stakes at approximately a 45-degree angle.
- [ ] Ensured tent body is taut.
Rainfly and Guylines:
- [ ] Attached rainfly correctly.
- [ ] Tensioned rainfly, ensuring no sagging.
- [ ] Deployed and tightened all guylines (especially in wind/rain).
By following these steps and using the checklist, you can confidently set up your tent, providing a comfortable and secure home base for your outdoor adventures.
FAQs
1. What are the essential steps for setting up a tent correctly as a beginner?
To set up a tent correctly as a beginner, you should first choose a suitable campsite, clear the area of debris and rocks, lay out the tent and assemble the poles, stake down the corners, and finally secure the rainfly if necessary.
2. What tools or equipment do I need to set up a tent correctly?
To set up a tent correctly, you will need the tent itself, tent poles, stakes, a mallet or hammer for driving in the stakes, and a ground tarp or footprint to protect the tent floor.
3. How can I ensure the tent is stable and secure once it’s set up?
To ensure the tent is stable and secure, make sure the stakes are driven into the ground at a 45-degree angle, the rainfly is properly secured, and the guylines are taut. Additionally, positioning the tent to block the wind and using rocks or logs to anchor the stakes can help improve stability.
4. What are some common mistakes to avoid when setting up a tent as a beginner?
Common mistakes to avoid when setting up a tent as a beginner include choosing an unsuitable campsite, not properly staking down the tent, neglecting to secure the rainfly, and not properly tensioning the guylines.
5. How do I take down and pack up a tent correctly after use?
To take down and pack up a tent correctly, first remove the stakes and poles, then fold or roll the tent and rainfly, and finally pack everything into the tent bag or a separate storage bag. It’s important to ensure the tent is completely dry before packing it away to prevent mold and mildew.
Gear Up for Your Next Adventure
Shop related gear from Outdoor Survivors:

No comment